

HOW TO: 2015 Bumper mod
I've seen a couple people do this, and I just finished it myself. So if you are wondering how to shim your bumper forward to clear larger tires here it is. Sorry for the crappy pics.
First remove the grille, 12 push rivets on top remove the plastic, then remove the (4) 10mm bolts. Grille just pops off after that, give is a good tug and it will come off.
10mm bolts
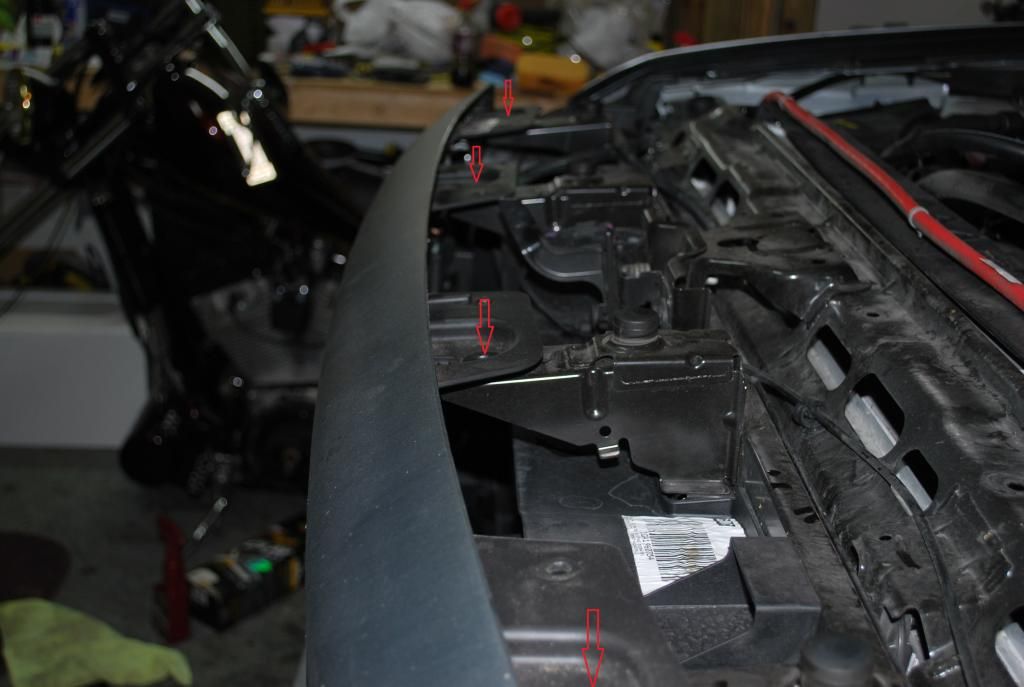
Next there are a total of (6) 15mm bolts that need to be taken out, 3 per side. (2) of them can just be loosened so the bumper brace drops down. The (2) that are side by side, the inside one only needs to be loosened.
15mm bolt location behind bumper
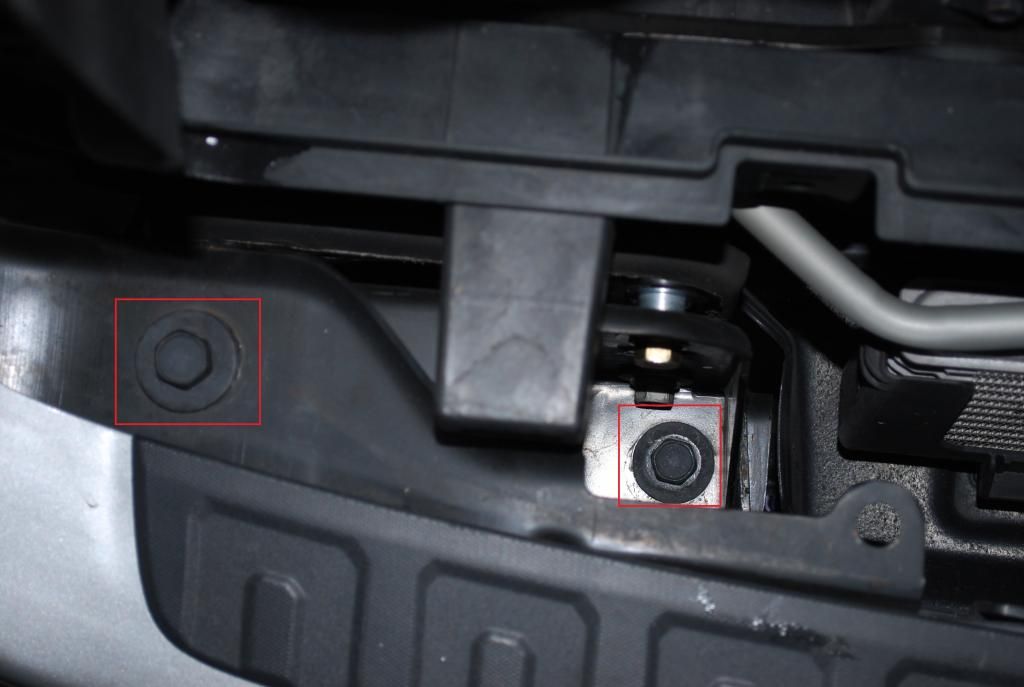
15mm outside bolt (looking up)
15mm inside bolts (looking inward)
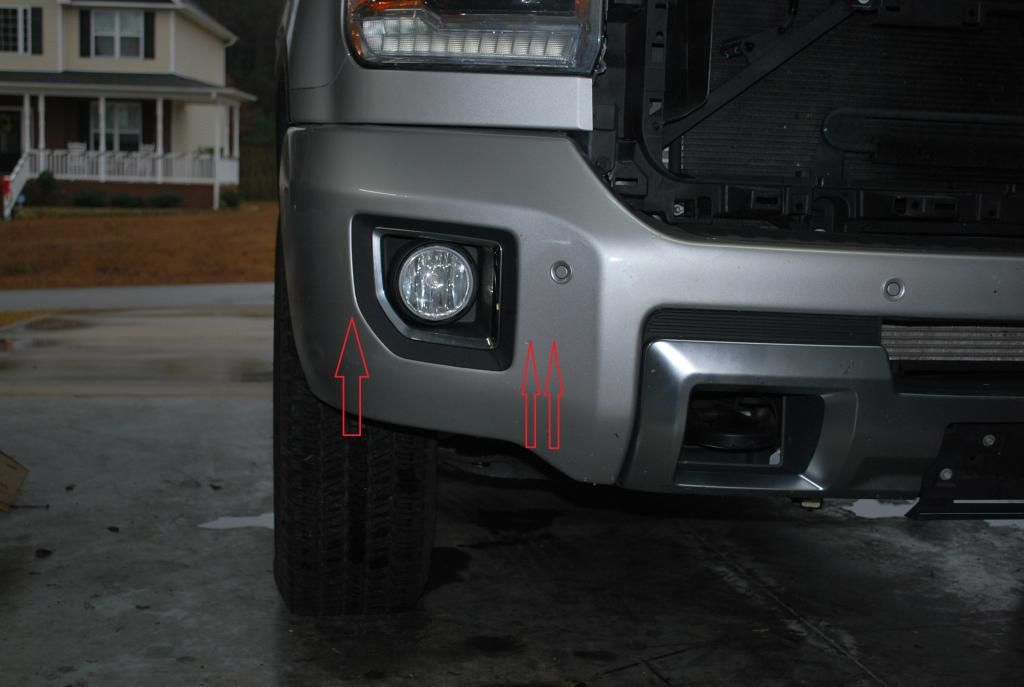
Next there are (4) 18mm bolts that have to be removed, 2 per side. The top bolts you can see in the first picture, the bottom ones you can see in the second picture. All are removed from the top.
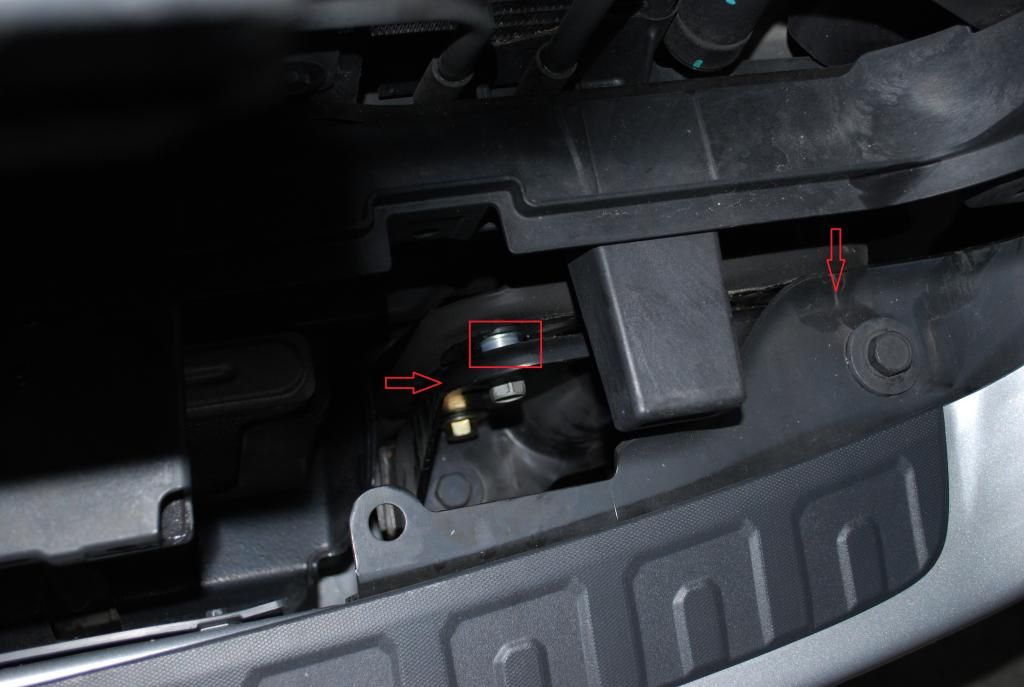
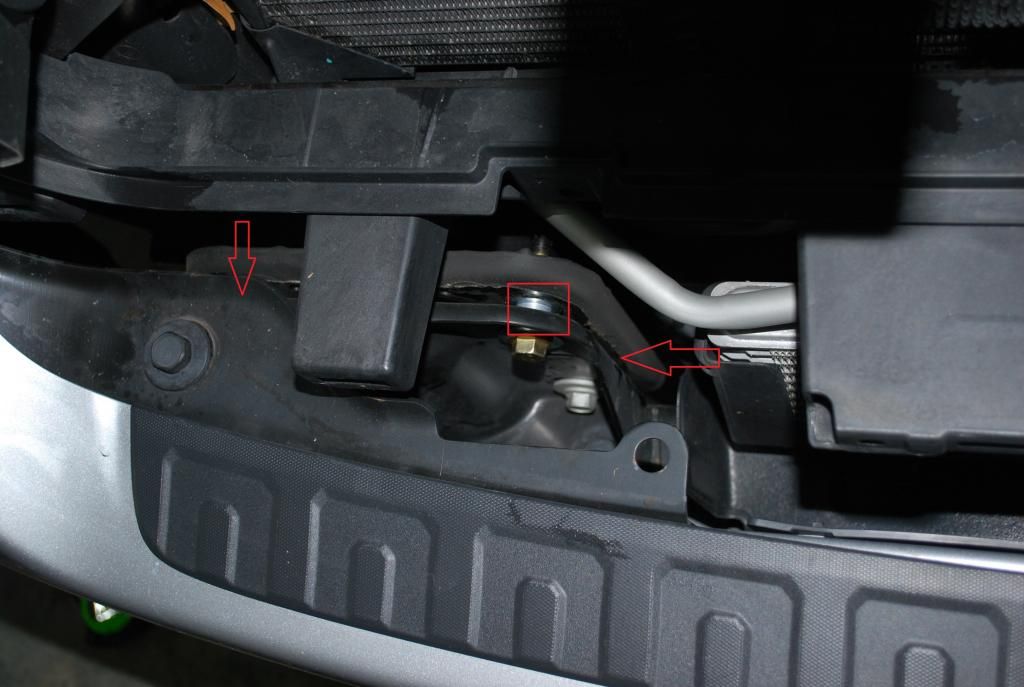
18mm bolt location
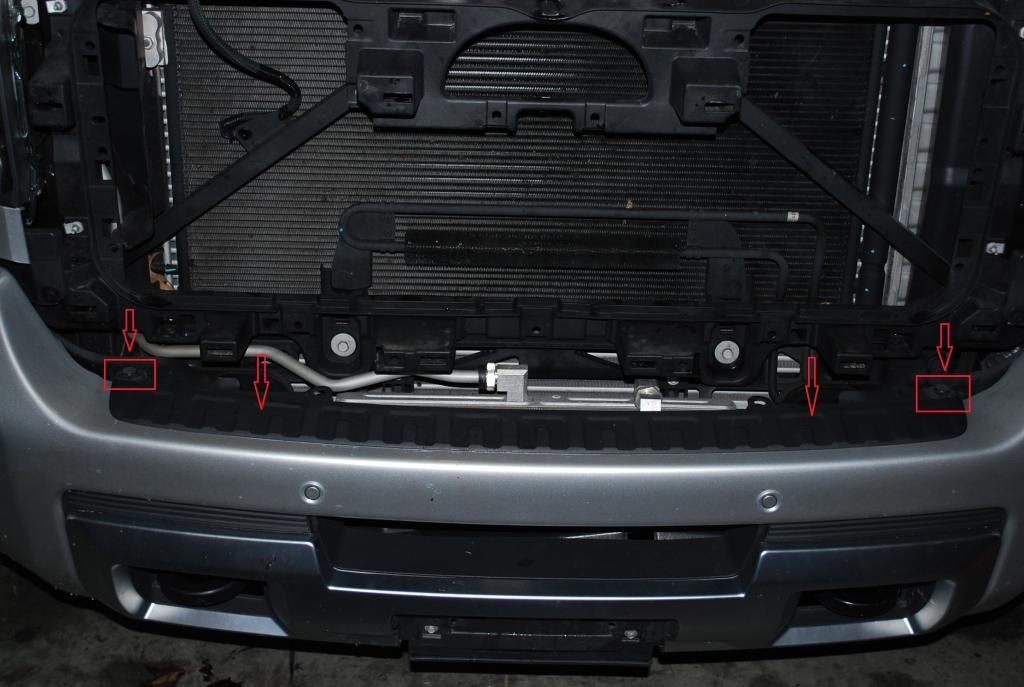
18mm bolts looking down at bumper
Once all those are removed the bumper should just pull forward and off.
Now I apologize for not getting pictures of the brackets with the bumper off, I was trying to hurry because it was beginning to rain. So the next pictures are after I installed the spacers and reinstalled the bumper.
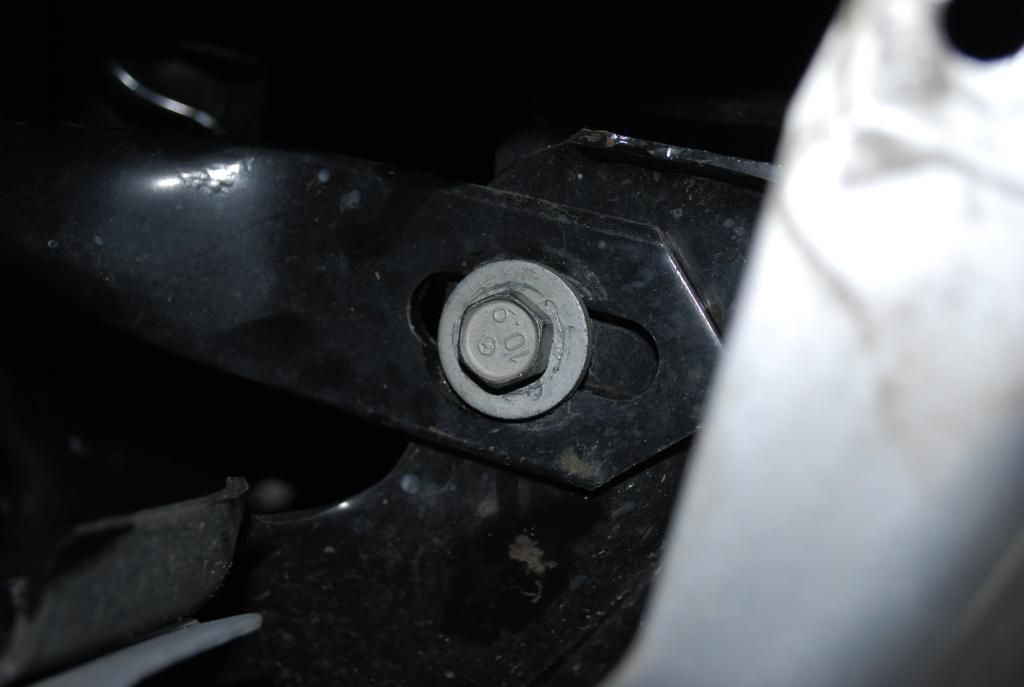
There of 2 mounting brackets with (4) bolts each, 1 per side. You will need longer bolts once you shim them, they are 10x1.50 and I used 2 inch bolts to make sure I had enough threads, threaded through. You will need a big washer, at least the size of the one on the factory bolts because there is a huge hole behind the washer so that you can adjust the brackets up/down, left/right. I got the spacers and bolts from NAPA from a tension kit. You may have to ask for them, they had to get them from the back for me. You don't have to get the whole kit, you can get the bolts and spacers individually. Or you can just go to the local hardware store and buy them. My spacers are about 1/2 inch, other have used 5/8 inch spacers, which I may have to switch to. I'll know tomorrow when my tires are installed.
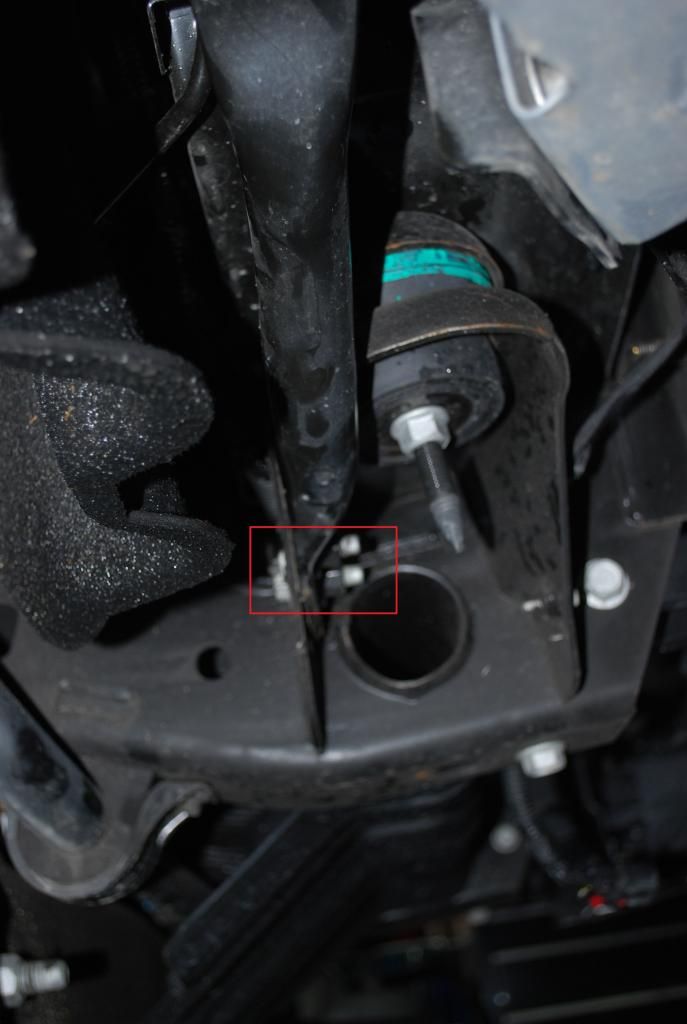
Bolts with spacers attached. Only shows the 2 inside bolts, the outside are under the bumper.
Drivers side
Passenger side
After that you just put everything back together, and you're done. Would have taken me less than an hour if I didn't have to run back to NAPA for the longer bolts. You can use the factory bolts, they will thread, but I didn't feel safe with as short as they where.
I've seen a couple people do this, and I just finished it myself. So if you are wondering how to shim your bumper forward to clear larger tires here it is. Sorry for the crappy pics.
First remove the grille, 12 push rivets on top remove the plastic, then remove the (4) 10mm bolts. Grille just pops off after that, give is a good tug and it will come off.
10mm bolts

Next there are a total of (6) 15mm bolts that need to be taken out, 3 per side. (2) of them can just be loosened so the bumper brace drops down. The (2) that are side by side, the inside one only needs to be loosened.
15mm bolt location behind bumper

15mm outside bolt (looking up)

15mm inside bolts (looking inward)

Next there are (4) 18mm bolts that have to be removed, 2 per side. The top bolts you can see in the first picture, the bottom ones you can see in the second picture. All are removed from the top.
18mm bolt location

18mm bolts looking down at bumper

Once all those are removed the bumper should just pull forward and off.
Now I apologize for not getting pictures of the brackets with the bumper off, I was trying to hurry because it was beginning to rain. So the next pictures are after I installed the spacers and reinstalled the bumper.
There of 2 mounting brackets with (4) bolts each, 1 per side. You will need longer bolts once you shim them, they are 10x1.50 and I used 2 inch bolts to make sure I had enough threads, threaded through. You will need a big washer, at least the size of the one on the factory bolts because there is a huge hole behind the washer so that you can adjust the brackets up/down, left/right. I got the spacers and bolts from NAPA from a tension kit. You may have to ask for them, they had to get them from the back for me. You don't have to get the whole kit, you can get the bolts and spacers individually. Or you can just go to the local hardware store and buy them. My spacers are about 1/2 inch, other have used 5/8 inch spacers, which I may have to switch to. I'll know tomorrow when my tires are installed.
Bolts with spacers attached. Only shows the 2 inside bolts, the outside are under the bumper.
Drivers side

Passenger side
After that you just put everything back together, and you're done. Would have taken me less than an hour if I didn't have to run back to NAPA for the longer bolts. You can use the factory bolts, they will thread, but I didn't feel safe with as short as they where.


